11 Old-Fashioned Wooden Animal Toy Patterns from 1922
This is a collection of patterns (or wood-making plans) for making old-fashioned wooden children’s toys, specifically ones that are shaped like animals! They come from Baxter, Leon H. Baxter’s Toy Craft, originally published in 1922. The book is meant to for kids to be able to make the toys themselves, so it should be fairly easy for beginner toy makers.
I’ve included images of the toys, plus some tips for enlarging them to be the proper size. All of that came from the book itself, so be sure to head to the source if you want any info I missed including here! For instance, the section before these plans has a lot of great info on which tools you’ll need, painting tips, etc.
👉 More Woodcraft Posts / All Craft Posts / More Children’s Stuff
Note: Some links here are affiliate links, which means if you click on it and buy something, I get a small percentage. This money goes towards running the blog. Thank you for your support!
Plans
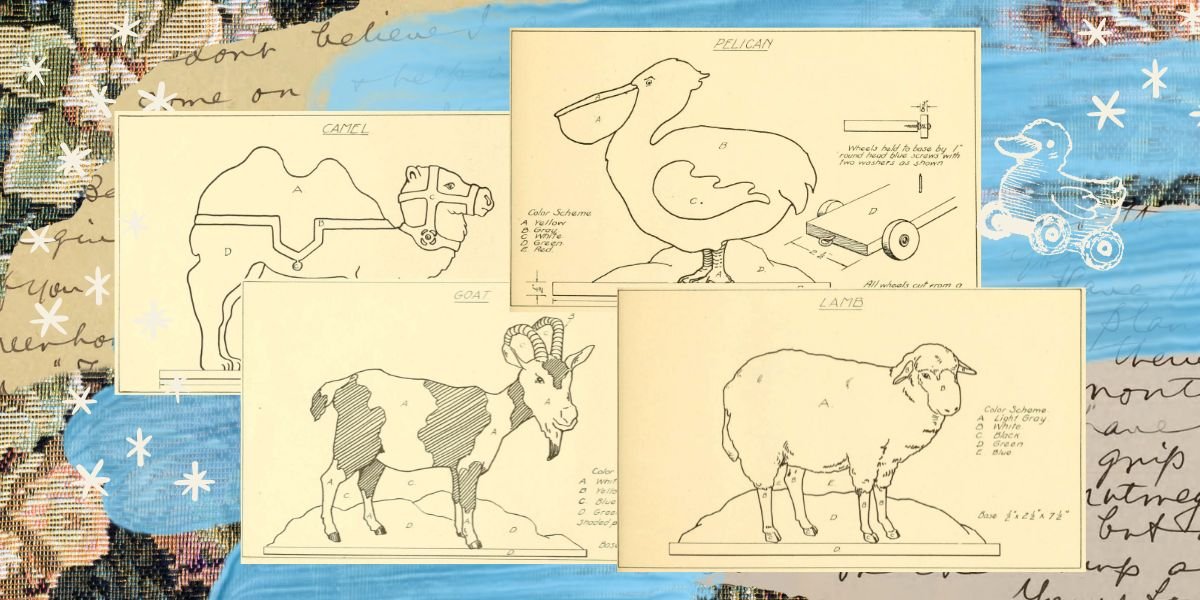
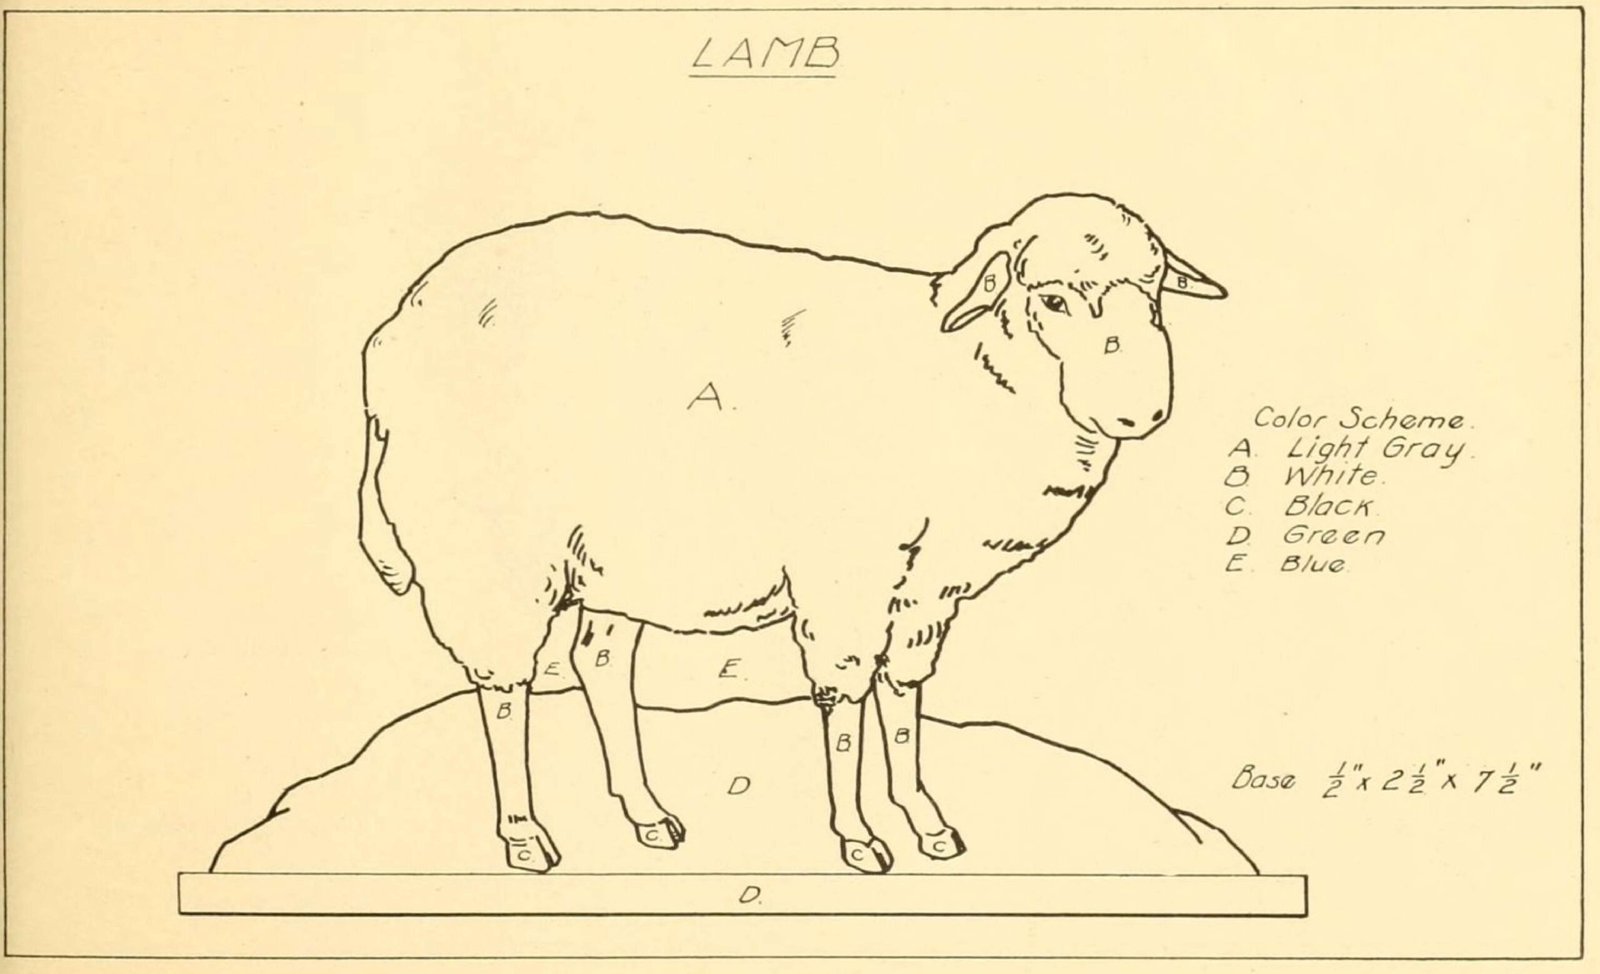
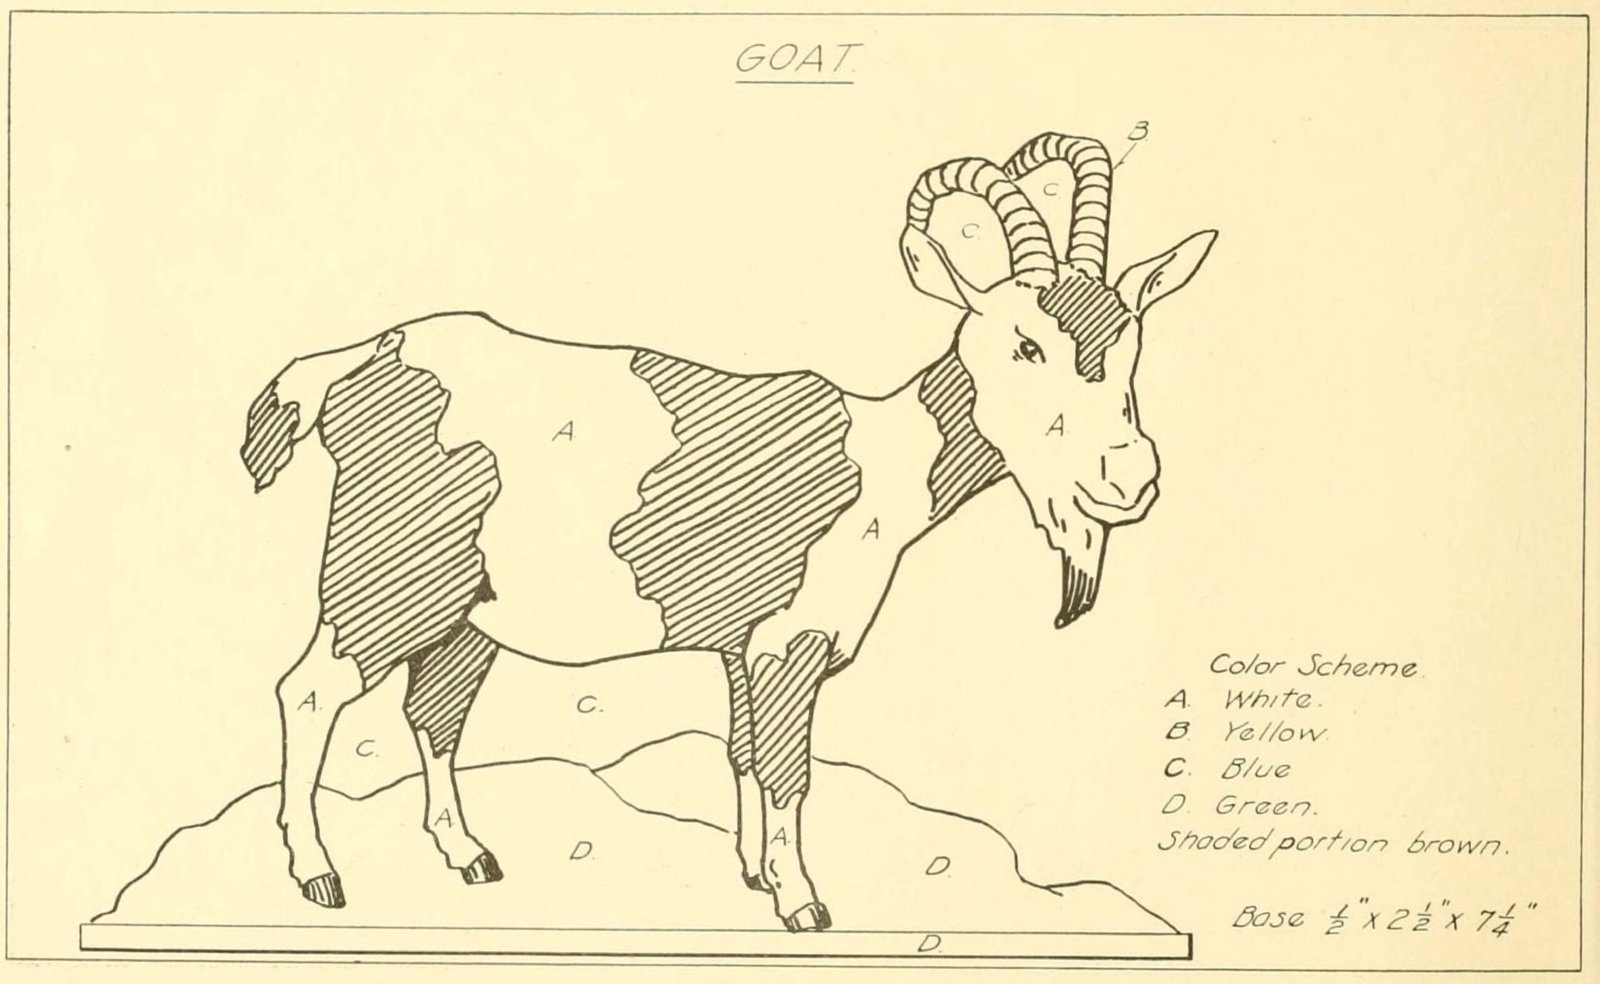
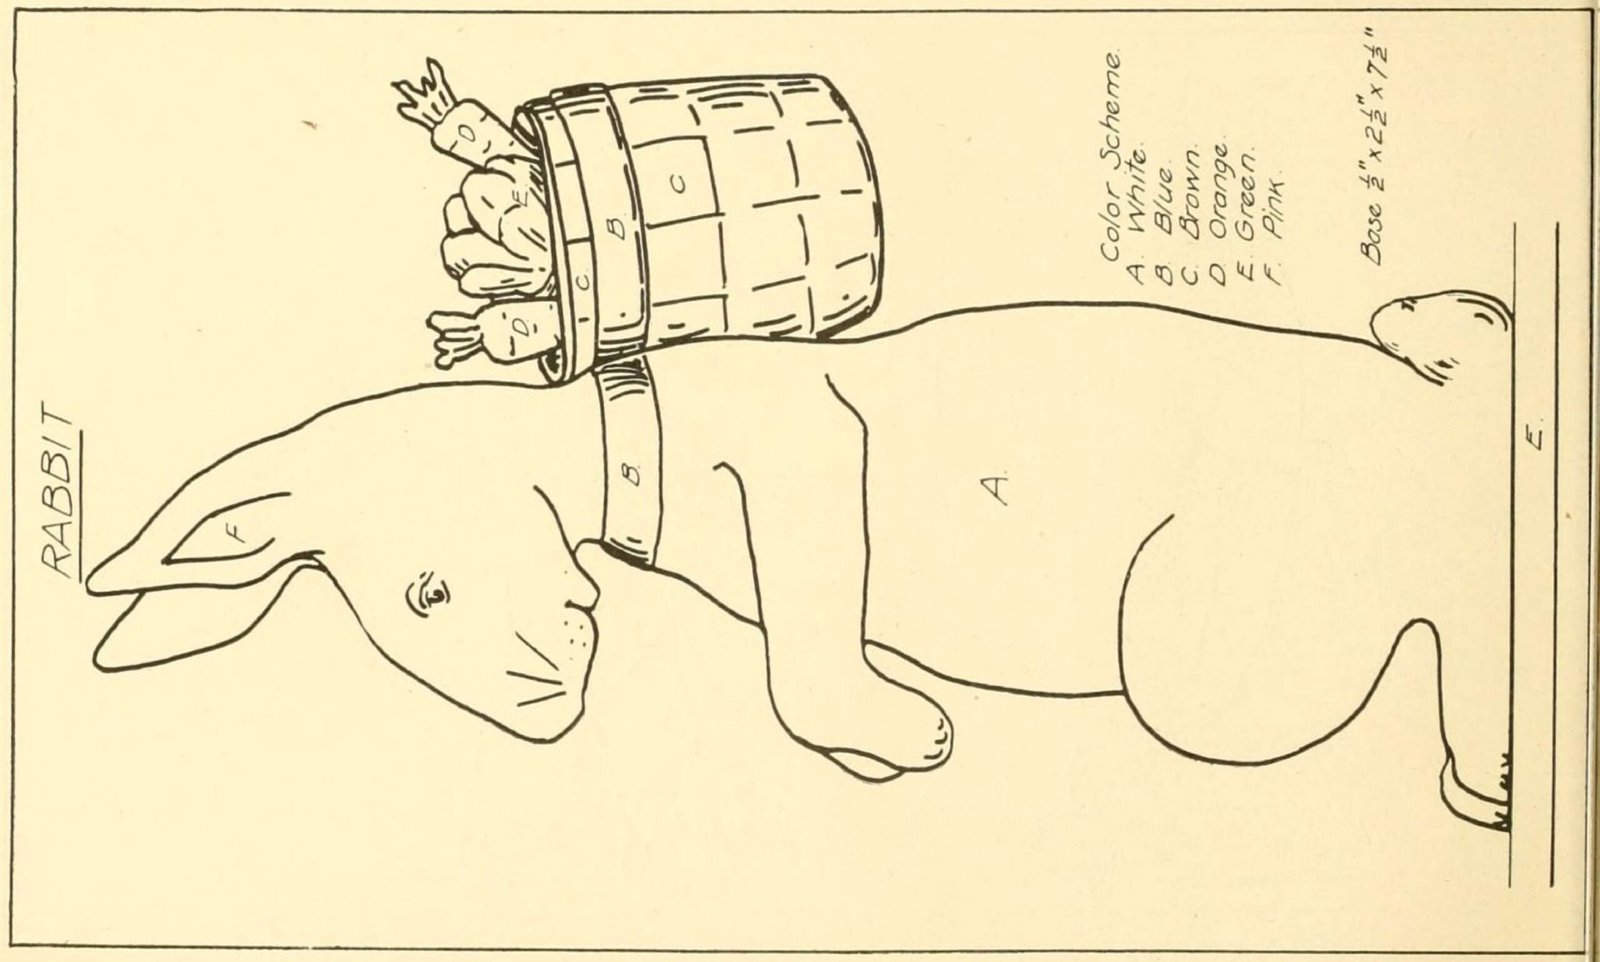
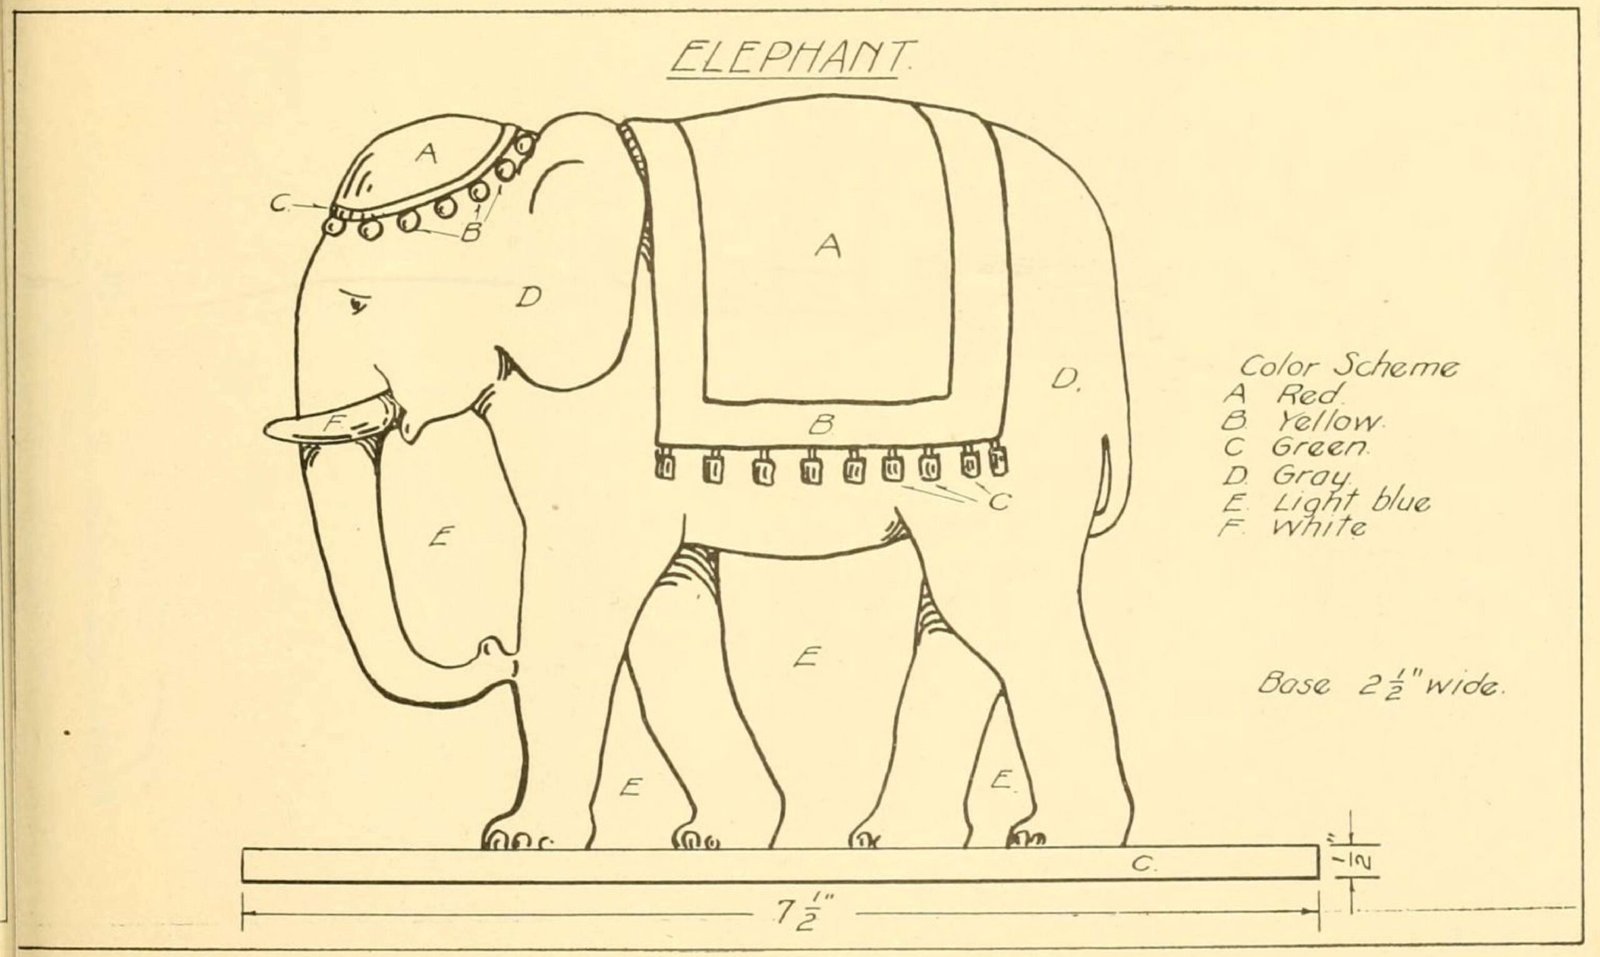
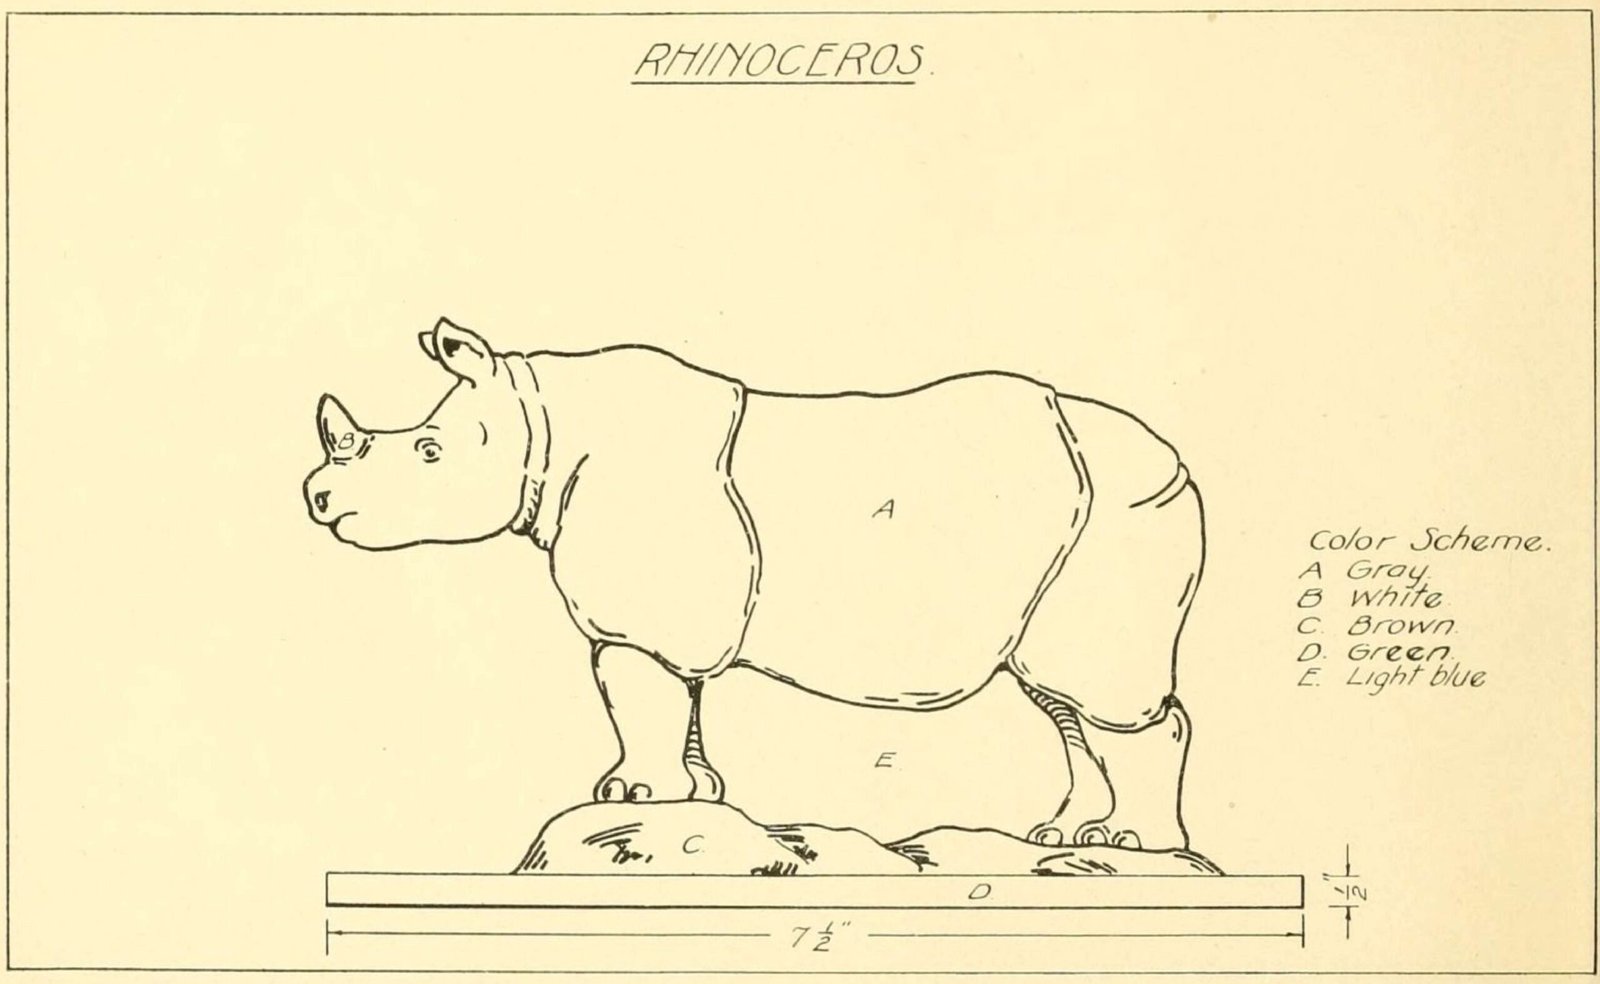
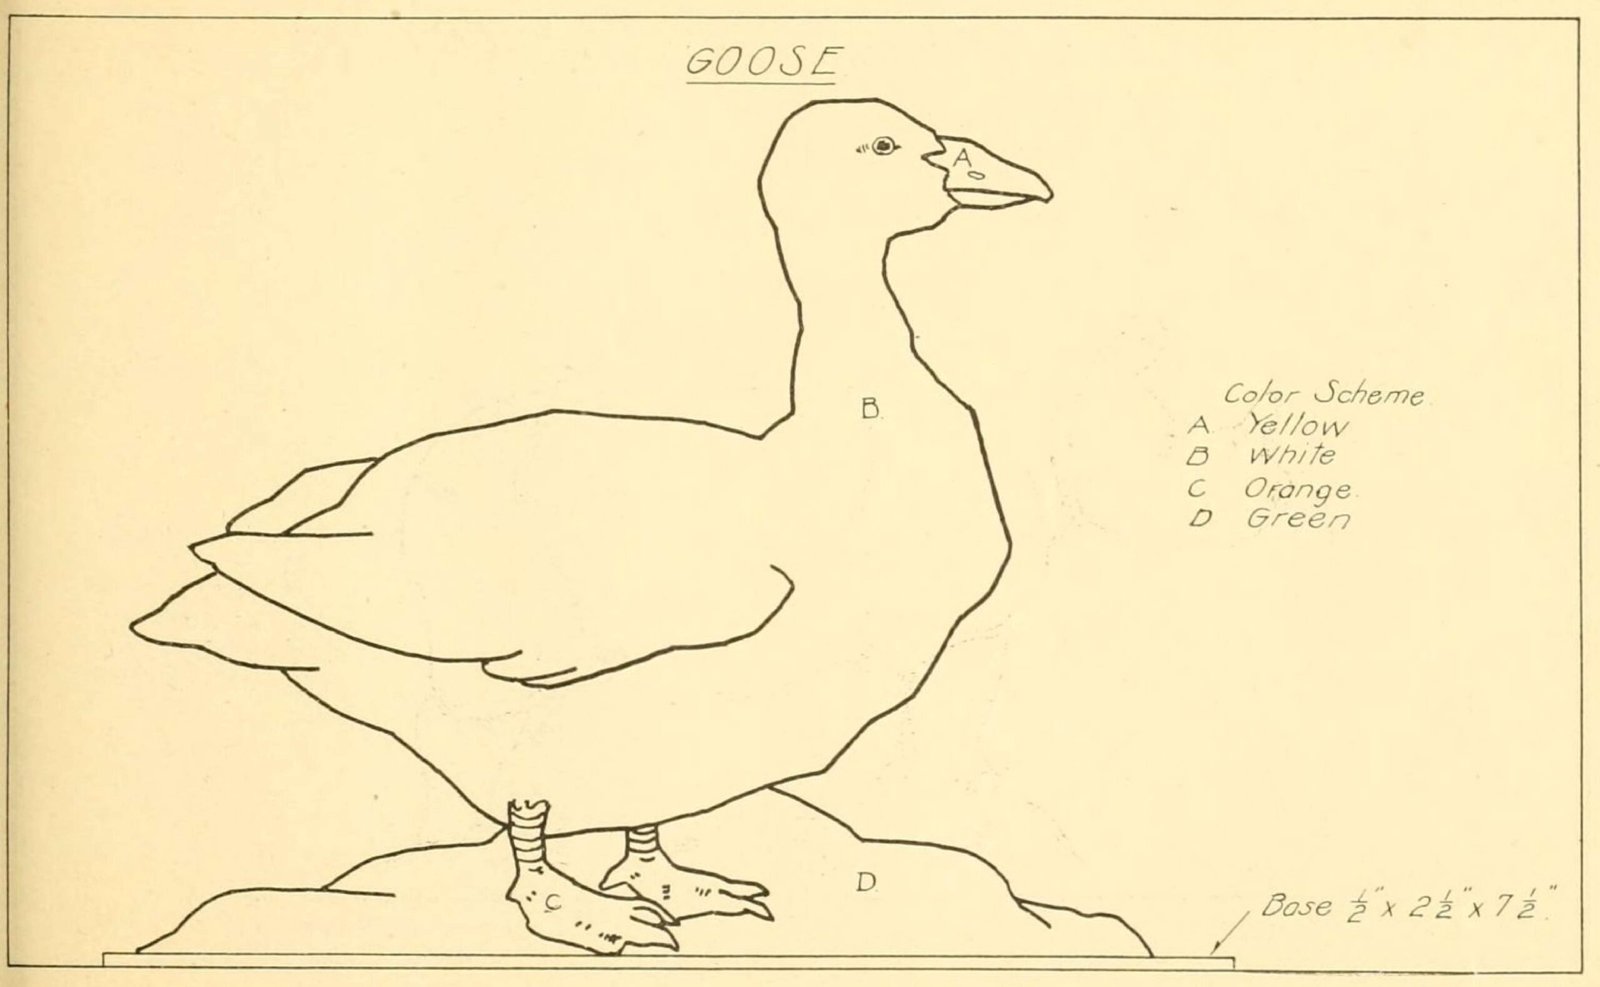
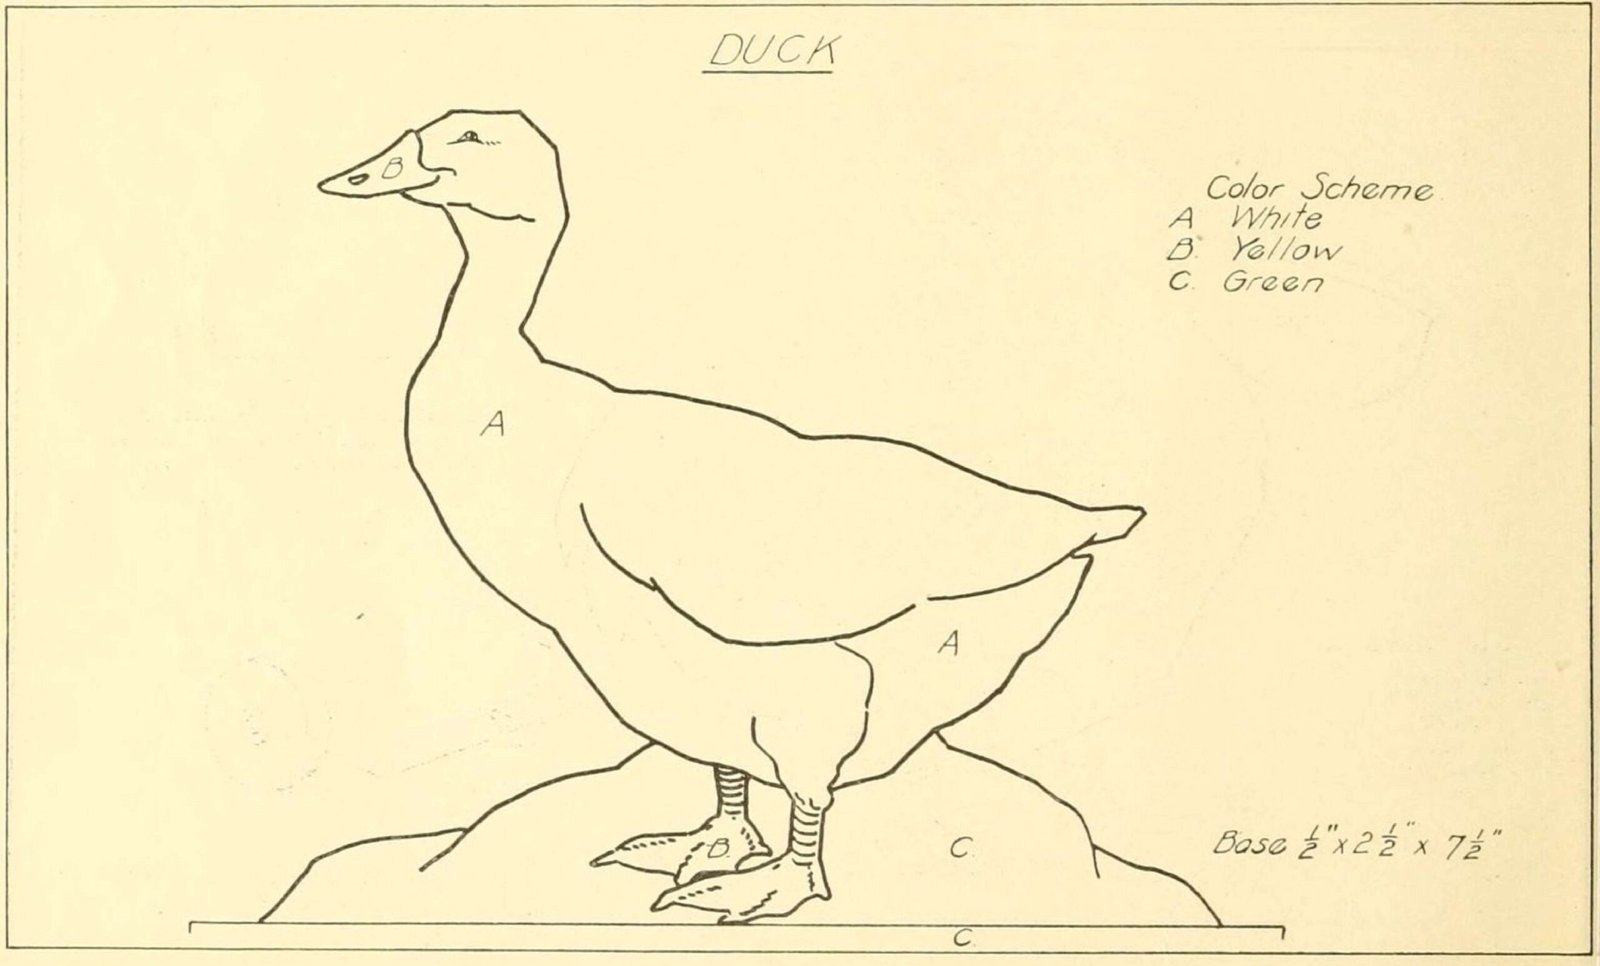
These are for wooden animals standing on a small base. Click on an image to enlarge it and then right-click save it to download. If you need high-quality 300 DPI images instead, I do have them available for download in the shop.
Animals
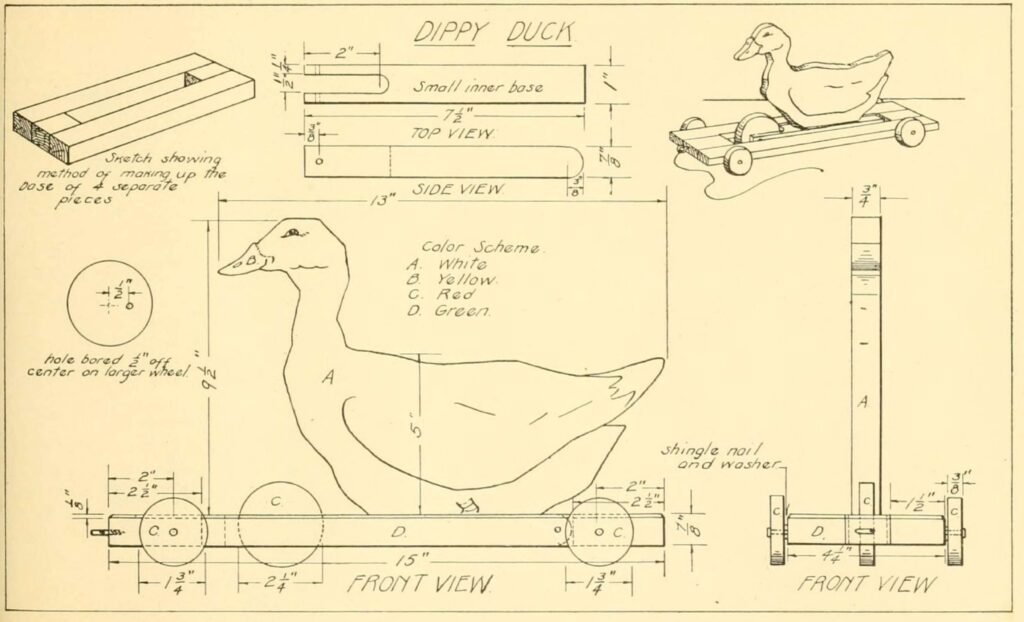
Dippy Duck
This plan is slightly more complex, because you attach the duck to a base with a moving part– then when you wheel the duck around, it moves up and down! Cute, right?
How to Enlarge the Plans
The book includes instructions on how to resize the toy plans so you can make them the correct size– or larger/smaller, depending on what you want to do.
Here’s the original text, from page 40:
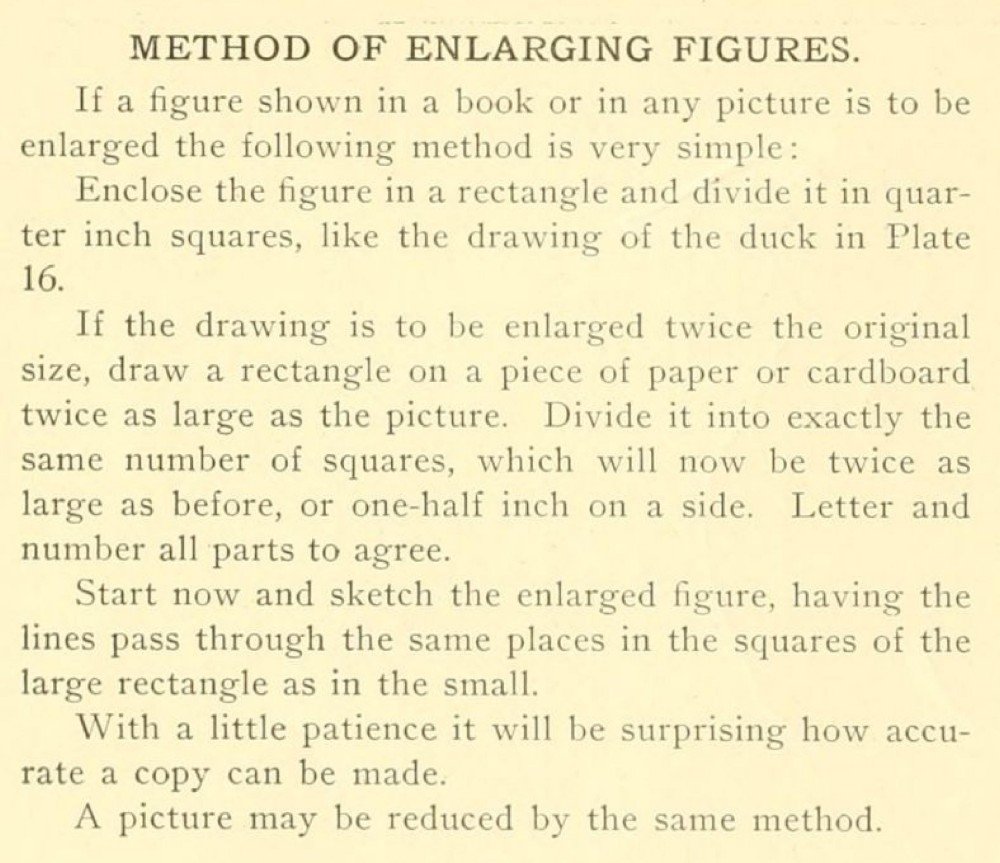
“If a figure shown in a book or in any picture is to be enlarged the following method is very simple:
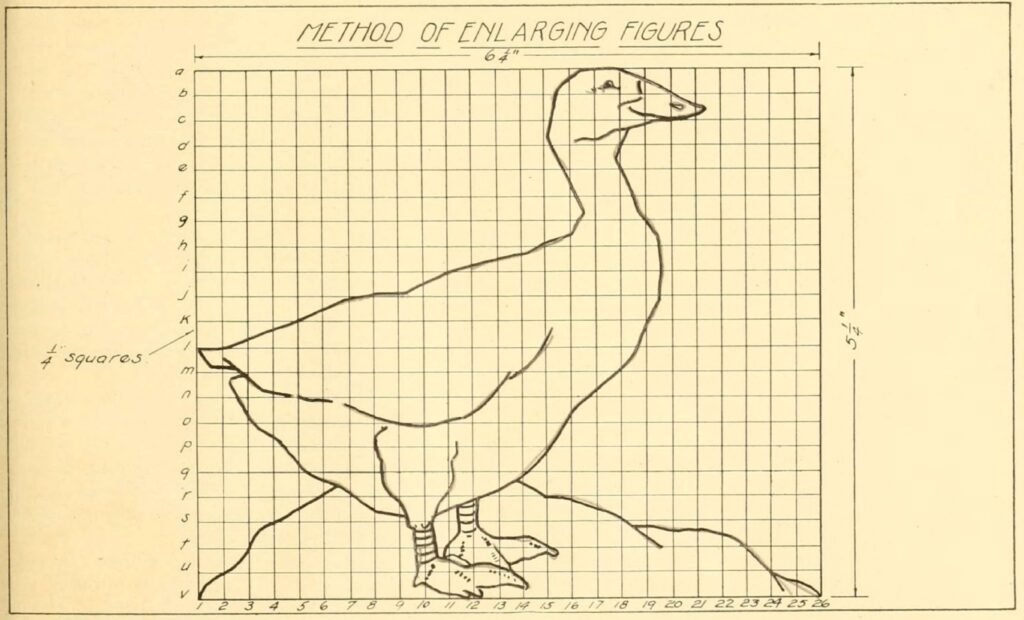
Enclose the figure in a rectangle and divide it in quarter inch squares, like the drawing of the duck in Plate 16.
If the drawing is to be enlarged twice the original size, draw a rectangle on a piece of paper or cardboard twice as large as the picture. Divide it into exactly the same number of squares, which will now be twice as large as before, or one-half inch on a side. Letter and number all parts to agree.
Start now and sketch the enlarged figure, having the lines pass through the same places in the squares of the large rectangle as in the small.
With a little patience it will be surprising how accurate a copy can be made.
A picture may be reduced by the same method.”
Source
Baxter, L. H. (1922) Toy Craft. [Milwaukee, Wis., The Bruce publishing company] [Pdf] Retrieved from the Library of Congress, https://www.loc.gov/item/23008312/.
More Craft Posts
Knitting, embroidery, crochet; sewing and patterns; woodcraft; painting, watercolors, and more!
No posts